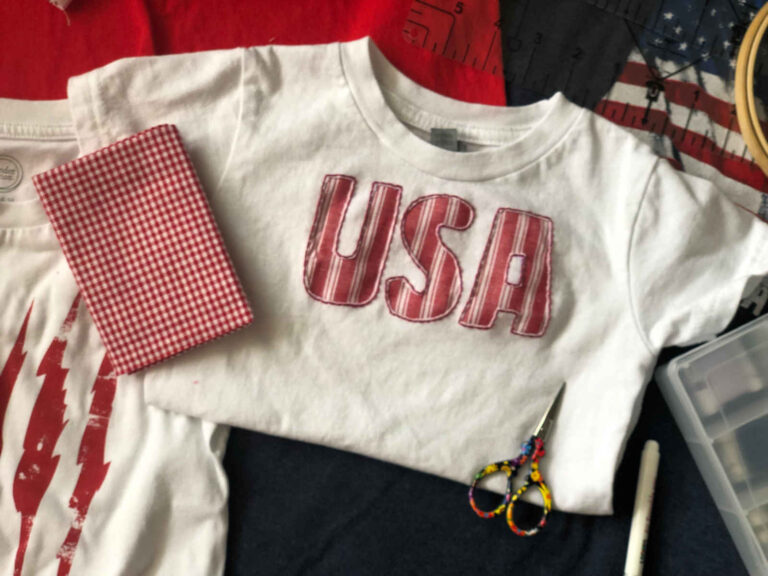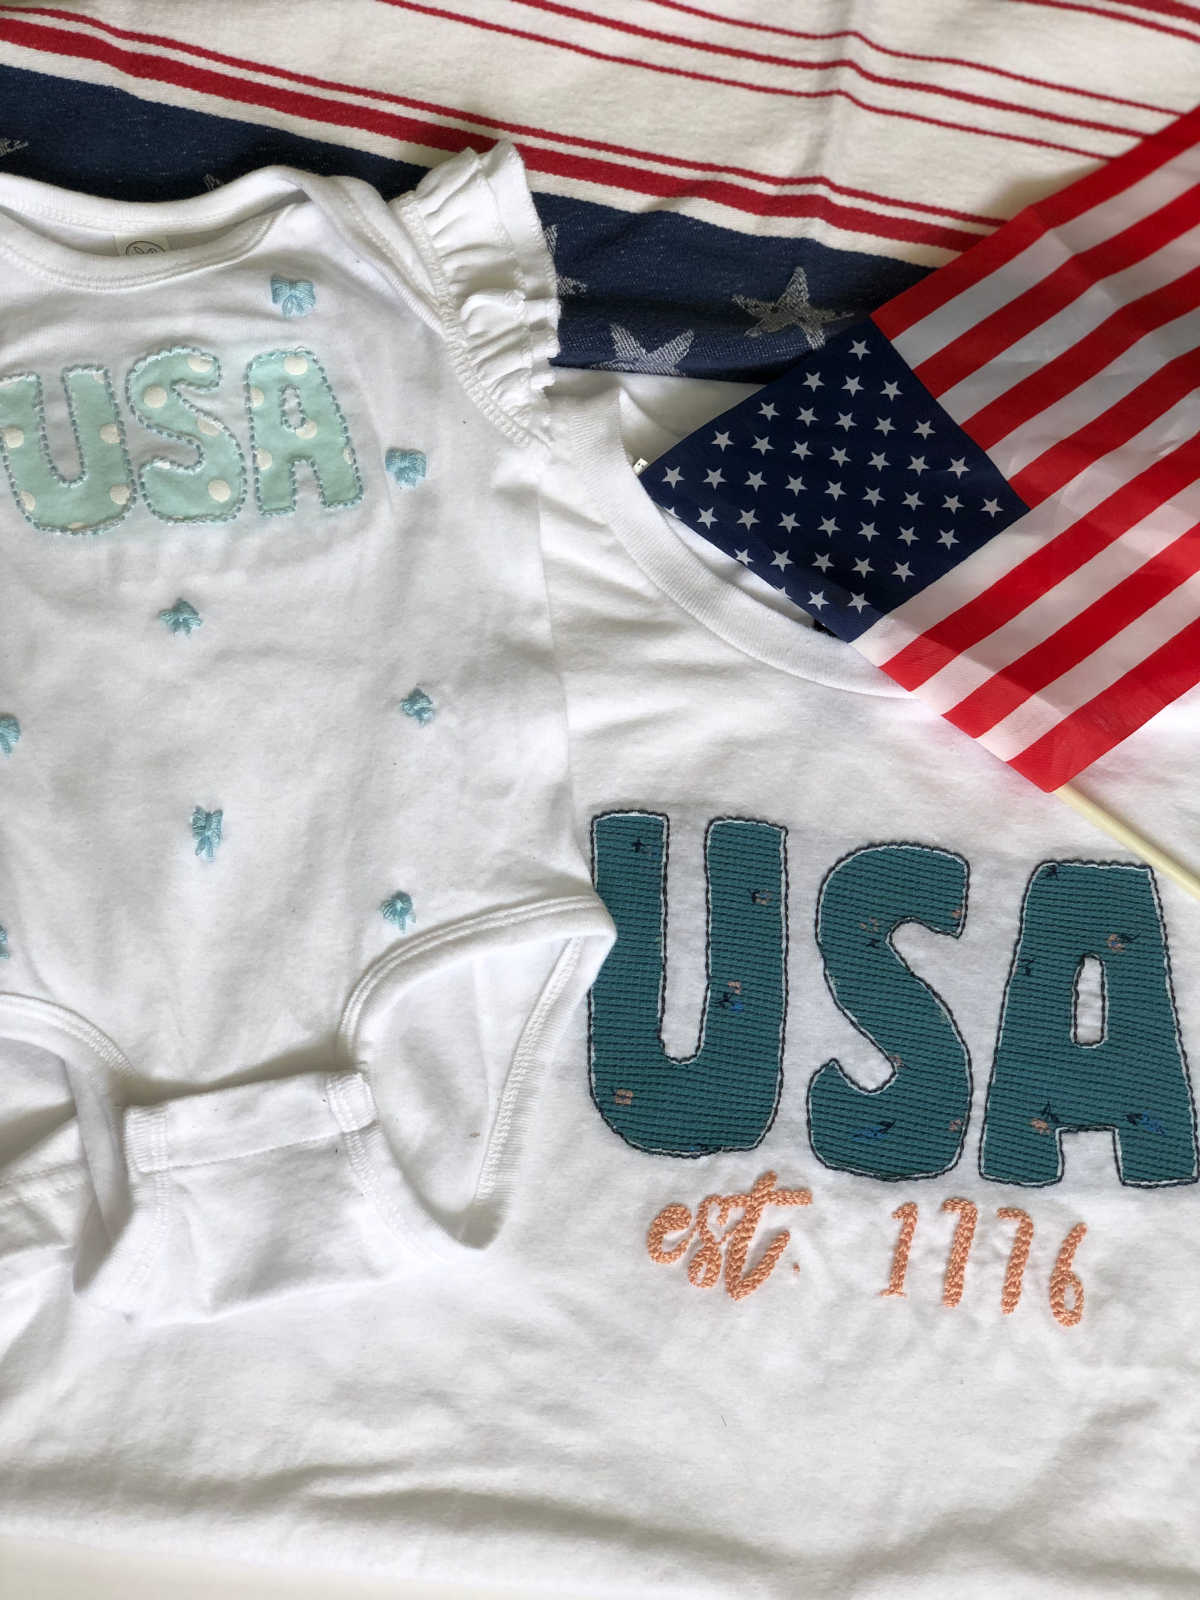
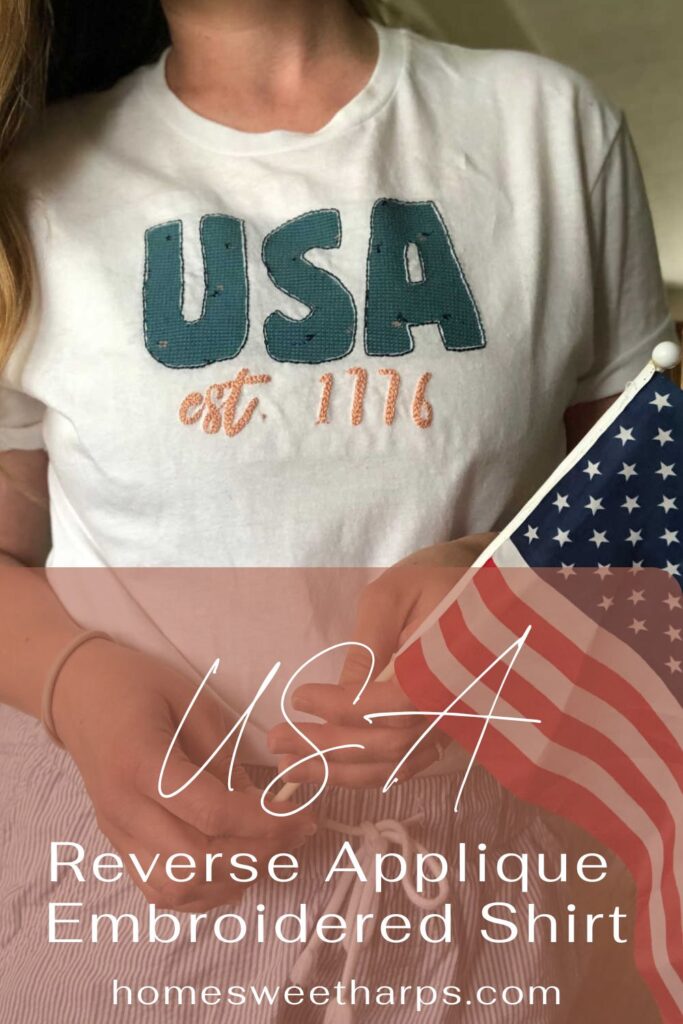
Looking to reuse your baby onesies and make adorable patriotic shirts for this year’s upcoming holidays? Use our free pattern and step-by-step tutorial to make our USA reverse applique embroidery pattern! This beginner-friendly pattern is a great way to use your favorite baby clothing to create something new!
This post contains affiliate links. As an Amazon Associate I earn from qualifying purchases at no extra cost to you. View privacy policy and disclaimer here.
We love celebrating the 4th of July in the Harp Household, and with one kiddo who shares a birthday with America, we tend to host!
I am always looking for cute, matching shirts for the kiddos, and made my own this year.
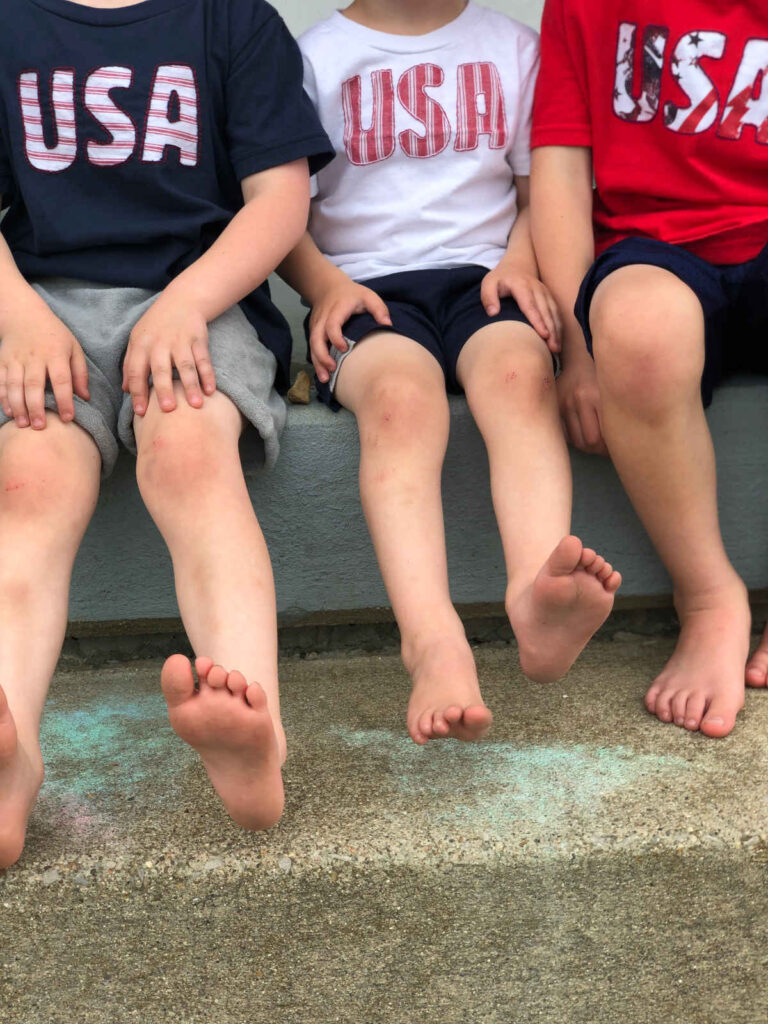
You may have seen my boys’ shirts in my previous post: USA Reverse Applique Embroidery!
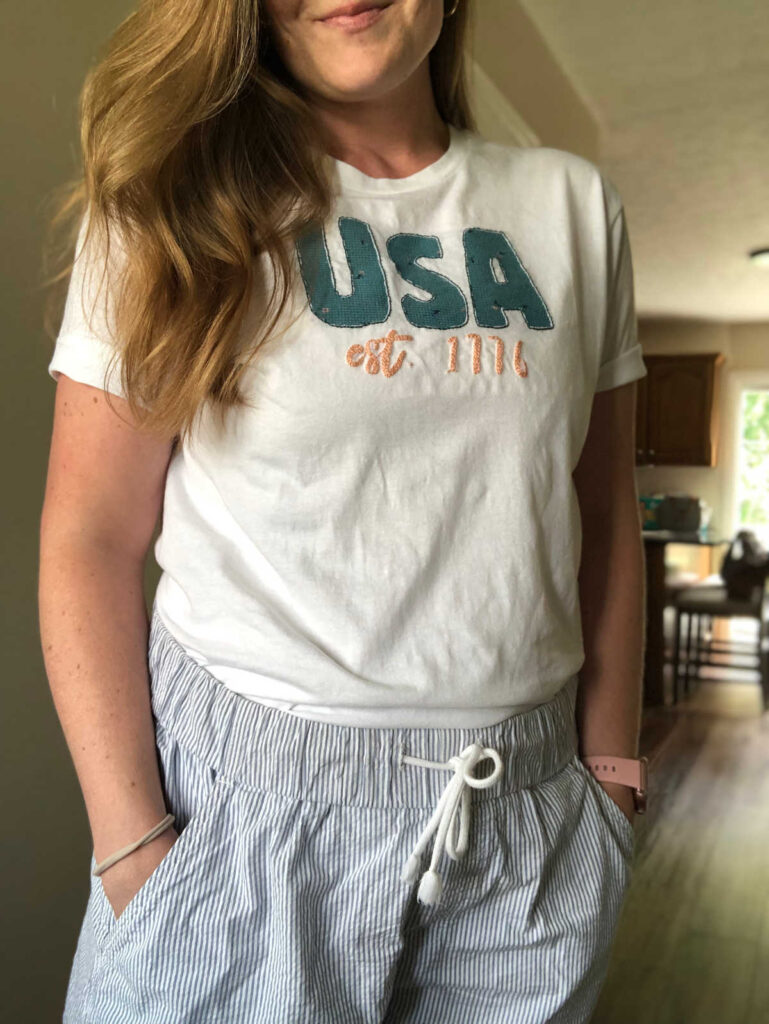
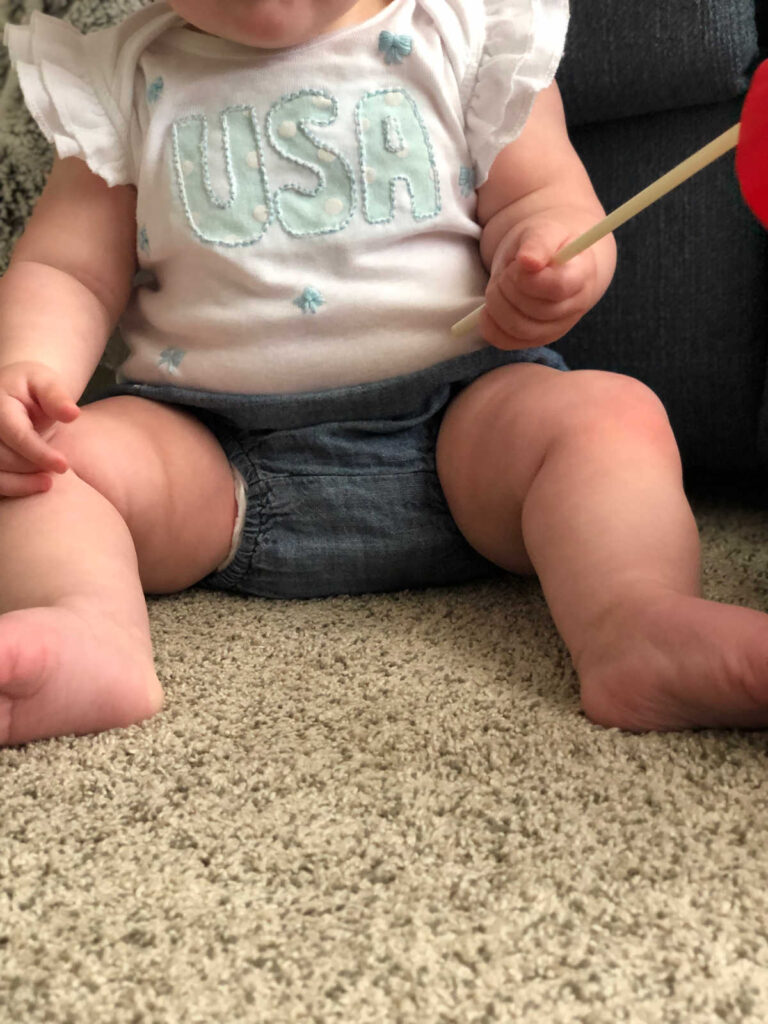
Today’s post uses the same free pattern, but I used some of my daughter’s onesies to create a more feminine look for her and myself!
You’ll find the step-by-step process in this post, as well as the free pattern. Let’s start with the materials needed for this project!
Materials:
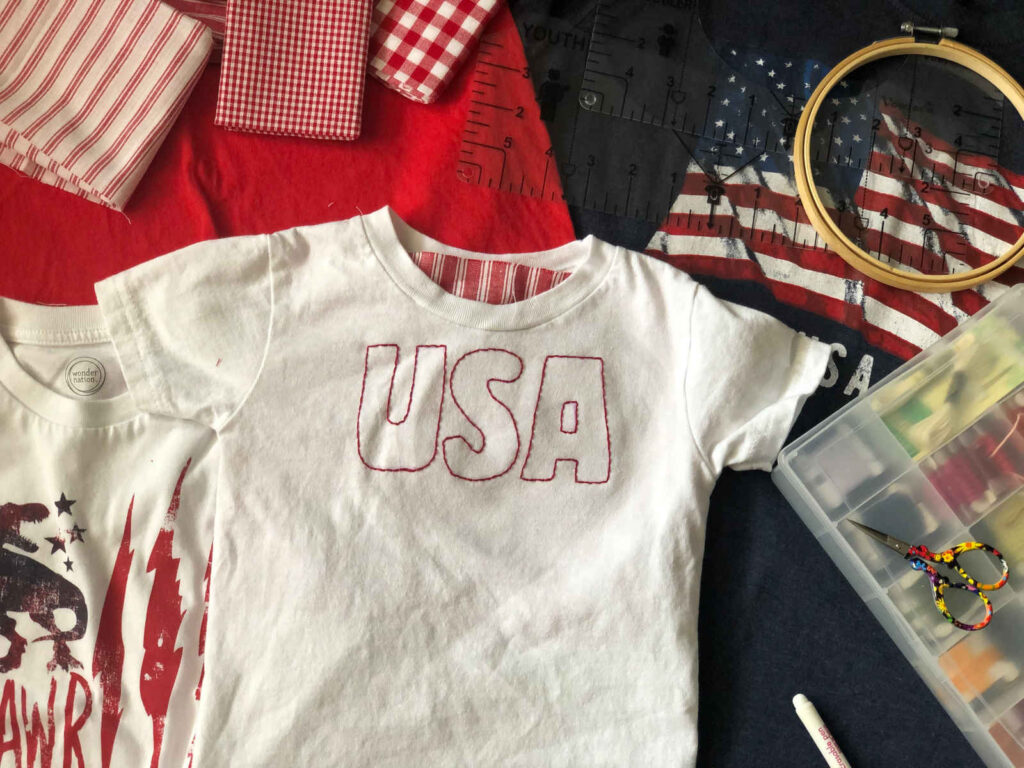
- Shirts in various sizes (I linked suggestions, but shop your closet or local craft store first!)
- Baby onesie – I saved a few blue onesies from my daughter’s newborn days and used those!
- Sewing needles
- Embroidery hoop
- Sharp embroidery scissors
- Water Soluble Embroidery Printable Paper
- Fusible Interfacing
- T-shirt Ruler
- My free pattern!
How to Make USA Reverse Applique Embroidery
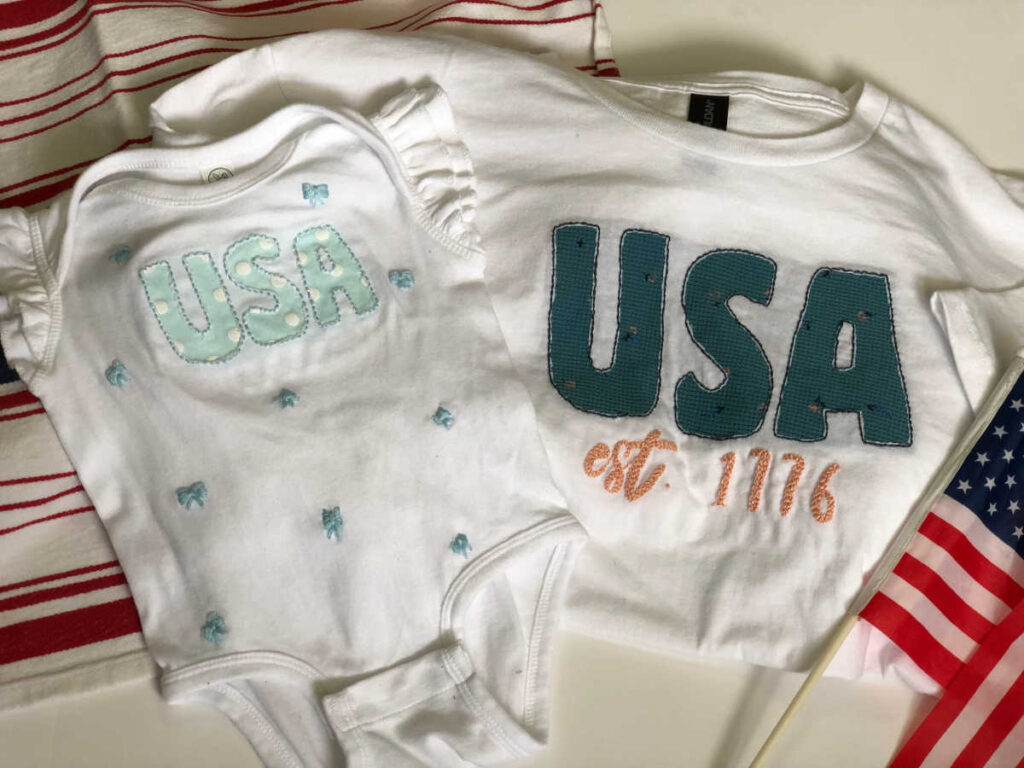
- First, cut your baby’s onesie that you are using for the letters of your shirt. You will want this piece to be larger than your hoop.
- Use alphabet stencils to trace directly onto your shirt, or print my free pattern on water soluble paper and paste to the shirt.*
- Adjust hoop to pattern. The backside fabric should be directly under the pattern, and larger than your hoop.
- Next, use a backstitch to stitch around your letters.
- Once you stitch all letters, use your sharp embroidery scissors to carefully cut away the top shirt’s fabric and reveal your backside fabric below. Be careful not to cut into the fabric underneath.
- Cut the fusible interfacing just to fit the backside of your letters, then iron according to directions.
And that’s it! Such a simple way to create adorable patriot shirts for you and your family!
Notes:
How do I trace a pattern onto my t-shirt project?
One easy way to trace your pattern onto your shirt, is to place it behind the shirt, hold it up to a light (or window!) and trace.
For daker shirts, I highly recommend using Water Soluble Embroidery Printable Paper. You simply print onto the soluble paper, peel & stick to your project, then wash away with water when you’re done stitching!
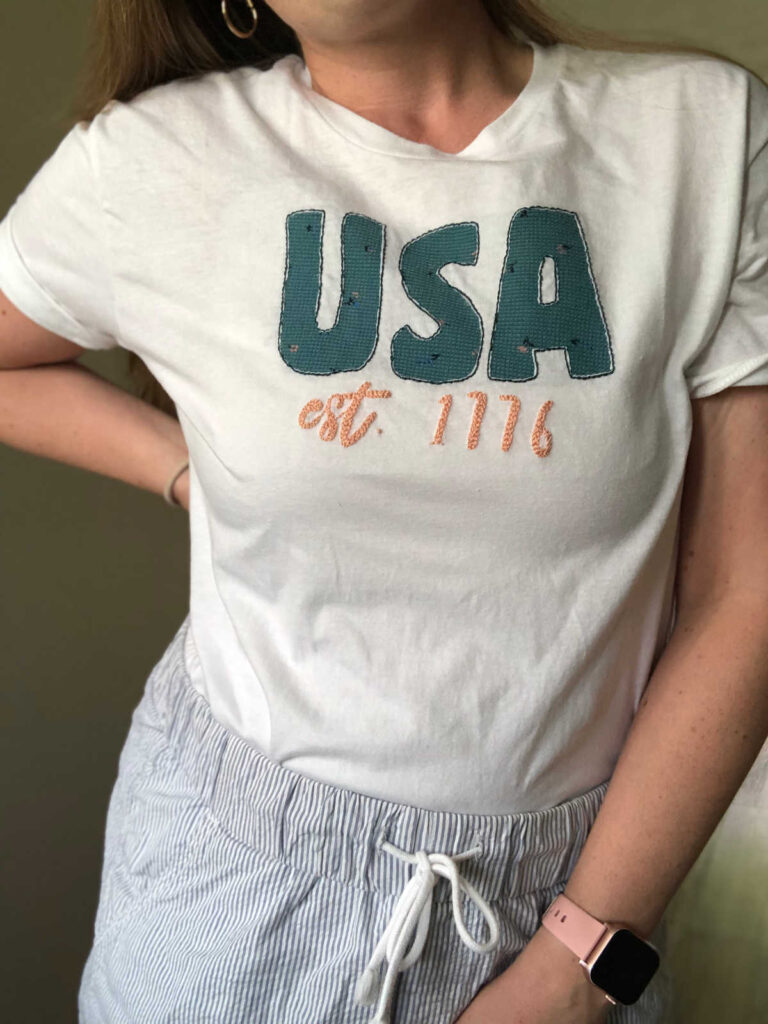
If you created your own USA reverse applique shirts, I would love to see your work over on Instagram!