Want a creative way to use those leftover toilet paper rolls? Use your embroidery skills to make some spring decor! Our DIY Toilet Paper Roll Spring Banner is a low-cost way to add some fun spring decor to your home. See our full tutorial!
This post contains affiliate links. As an Amazon Associate I earn from qualifying purchases at no extra cost to you. View privacy policy and disclaimer here.
The kids and I make a new banner to hang in our dining room every season. So when I came across the viral “toilet paper roll” banners, I had to try it!
And of course, I had to add some embroidery 😉
I love this project because it uses items you already have in your home and recycles those toilet paper rolls that inevitably end up in the trash!
It’s also a great way to include your kids in a craft project. My boys made water colored flowers to add to our banner and it turned out so cute!
I even put together a freebie floral coloring page so your kiddos can add flowers too.
We’re going to chat about materials, steps, and how to make it your own!
Materials:
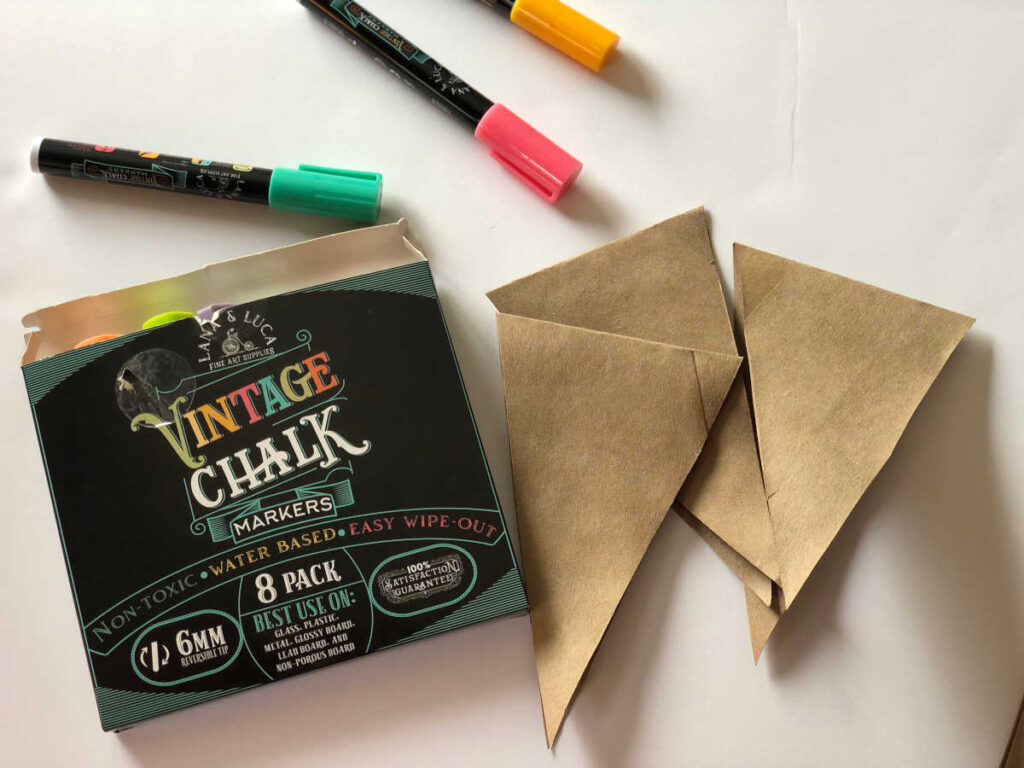
- Toilet paper rolls (6 if you plan to spell the word “spring”)
- Chalk markers (I used these because I had them at home, but you could use paint, markers, chalk, etc.)
- Twine
- Hole punch
- Sewing needles
- Sharp embroidery scissors
- Embroidery floss
- Our free floral coloring page if you want to add flowers!
How to Make a DIY Toilet Paper Roll Spring Banner (with embroidery!)
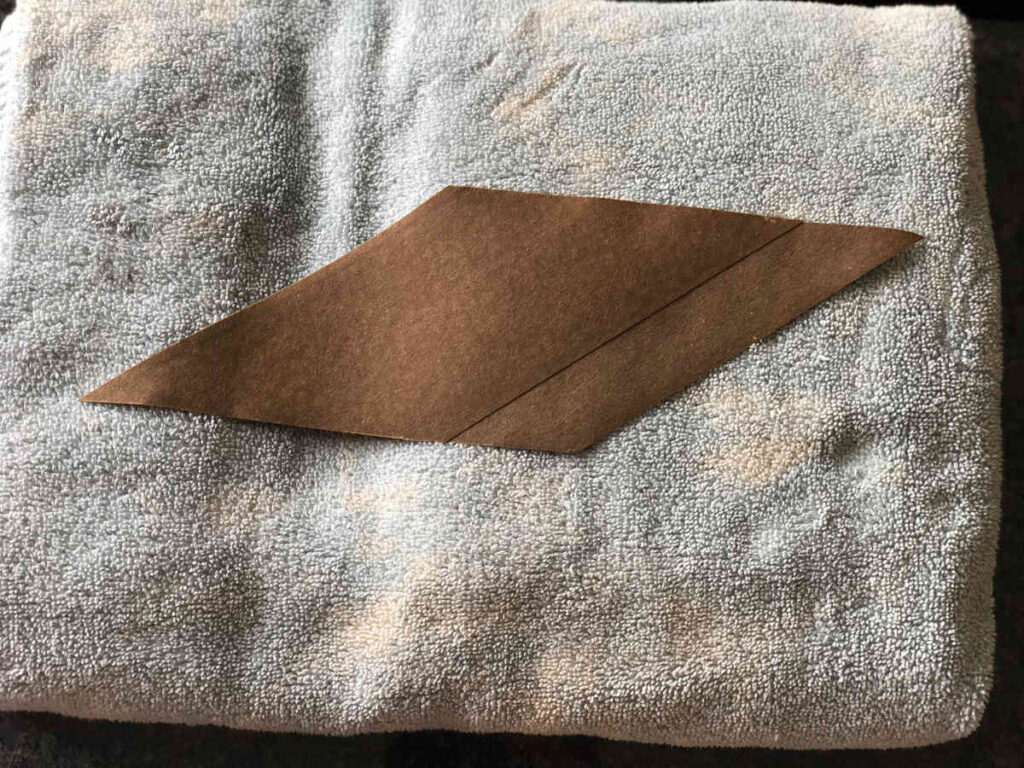
- First, you are going to place your toilet paper rolls into a cup of warm water (fully immersed), until it unravels.
- Do this will all six toilet paper rolls, then lay them out flat to dry.
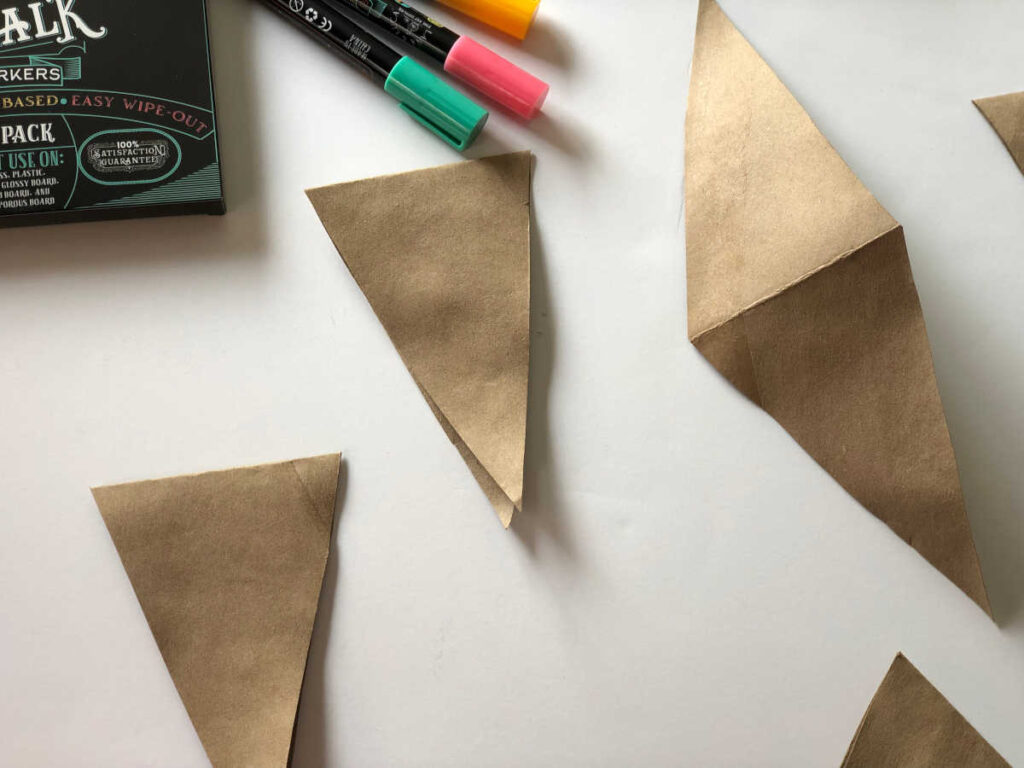
3. Once your toilet paper rolls are dry, fold in half to create a triangle pendant.
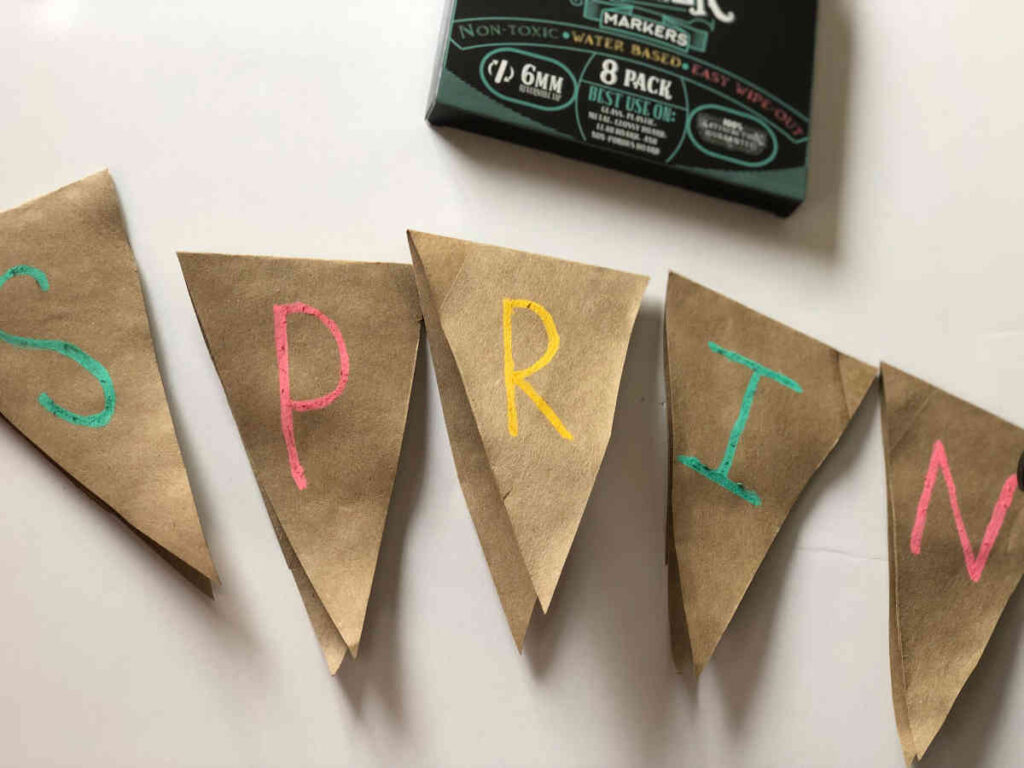
4. Next, use your chalk markers (or paint, markers, etc.) to write the letters “SPRING” on your pendants.
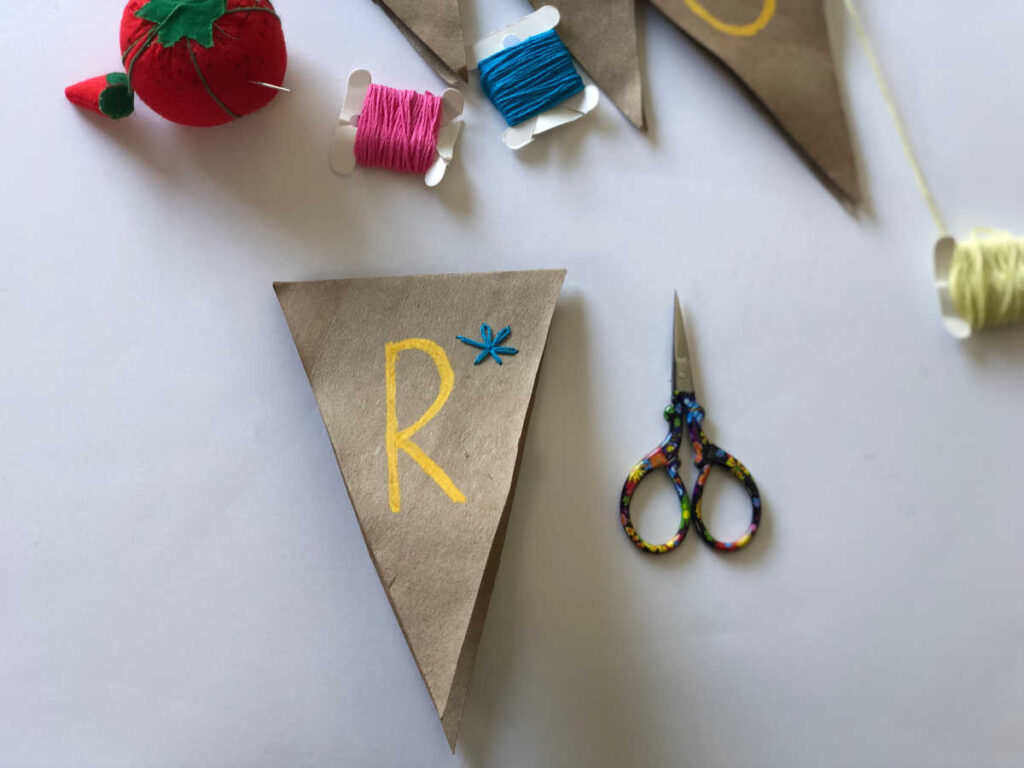
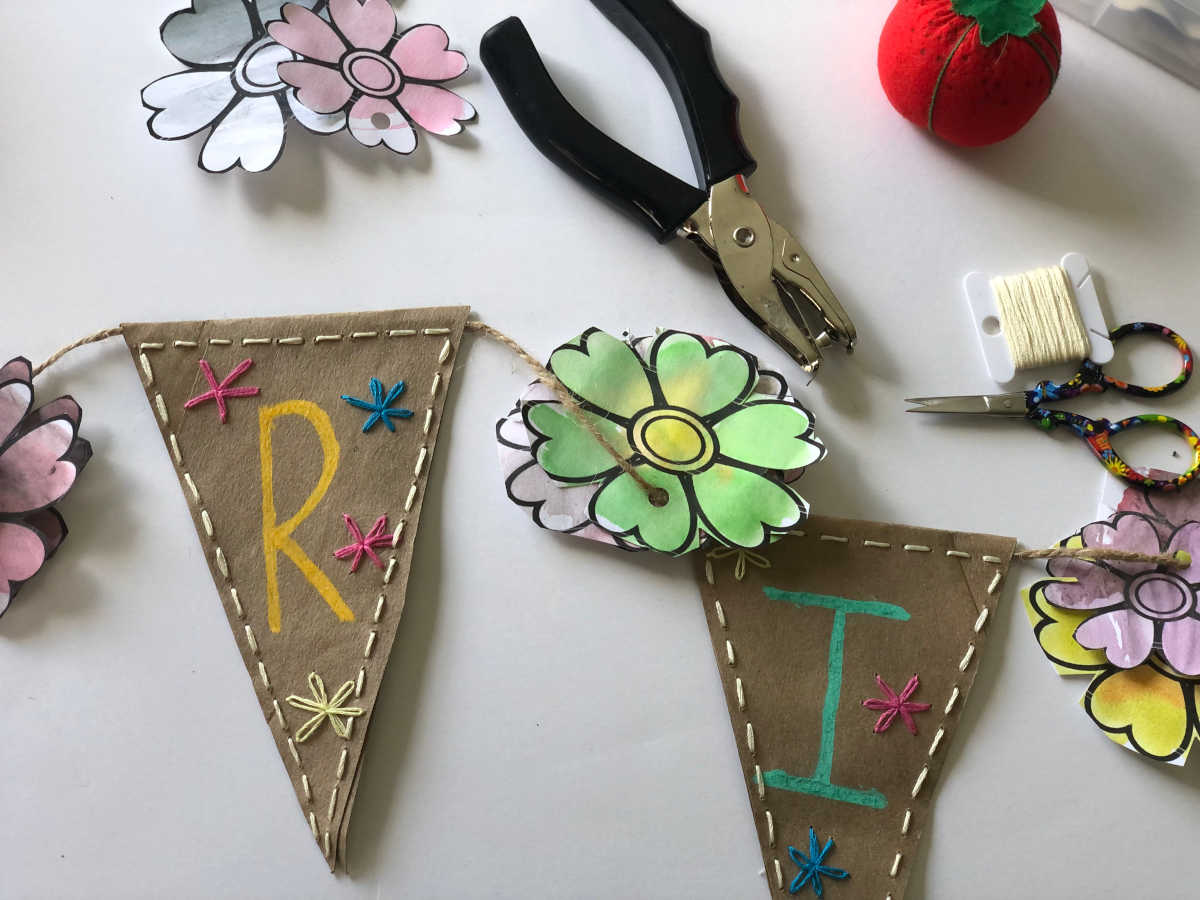
5. Create your embroidery design in pencil. I used lazy daisy stitches to create daisy flowers.
When working with paper or cardstock projects, it can be helpful to poke holes ahead of time so you know where to stitch. (see photo below)

6. Stitch! After your daisies are finished, use a straight stitch around the entire triangle. This hides any stitching behind, but also creates a cute border around the edge.
Tip: I folded my triangles over the twine so I wouldn’t have to worry about pushing and pulling frayed twine through the top.
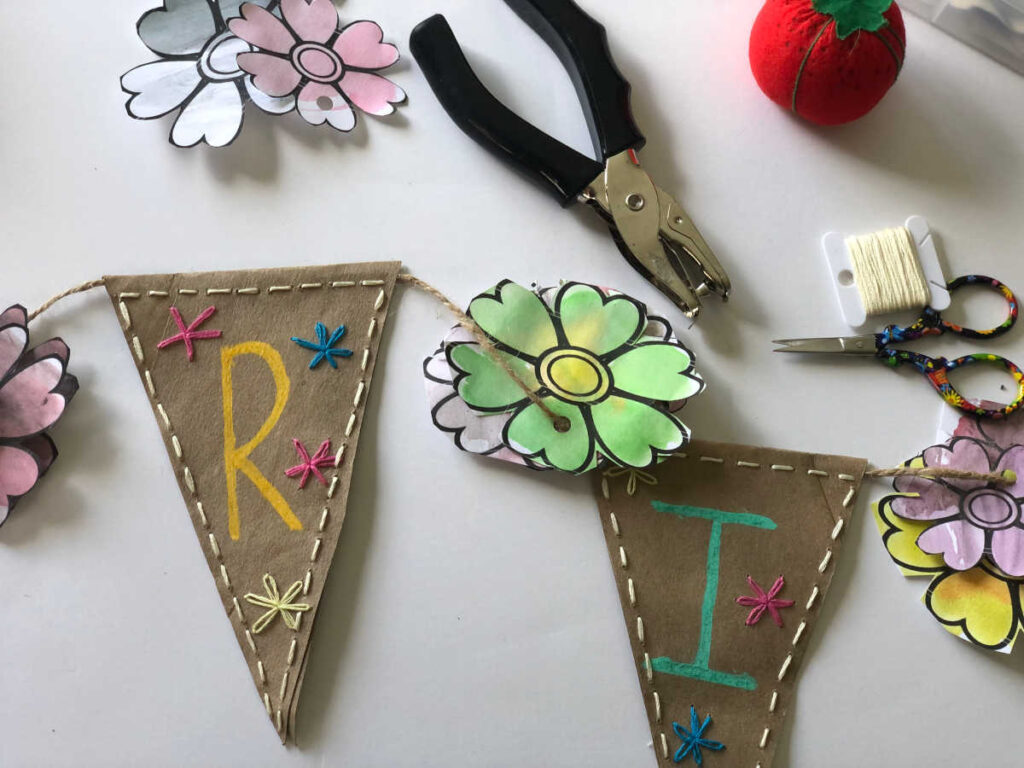
7. Optional: Print our free floral coloring page, so your kids can paint flowers to add to your banner!
You can see the process in action over on my Instagram!
Interested in more paper embroidery projects? Check out these posts:


